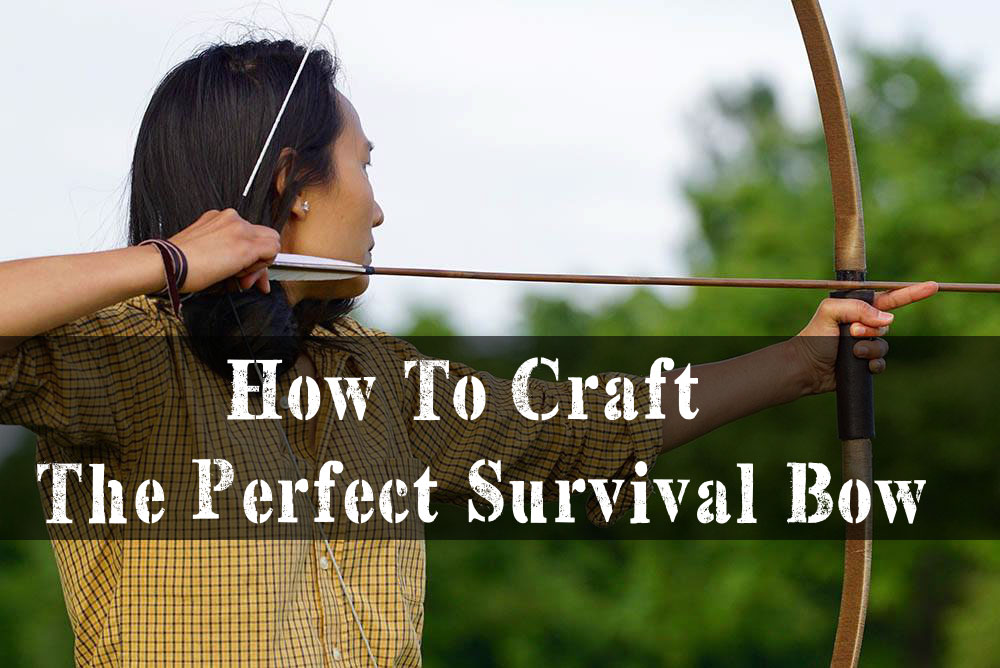
Practical Tips On How To Craft The Perfect Survival Bow


Practical Tips On How To Craft The Perfect Survival Bow

Practical Tips On How To Craft The Perfect Survival Bow

Today I have a guest post on Practical Tips On How To Craft The Perfect Survival Bow. Making a survival bow is something I have been meaning to do for a while. This post has several grerat tips to get me building. Enjoy -James.


Survival Bow
Survival Bow

Adding the Bow Cord

One thing that nobody prepares you for is an emergency situation. You only realize that you were not ready when it is too late to save the day. In everyday life, there are some skills that you would deem irrelevant. For instance, on an average day, where would you require to start a fire without the use of a lighter? Another such skill would be how to make a survival bow. In the event you find yourself in a position which requires you to utilize some of your caveman skills, this article clearly elucidates how to go about making a perfect survival bow. 

One thing you need to get clear is that a survival bow is nothing like the modern day compound bow and crossbow. It is a quickie bow that is designed with a single thought in mind; convenient assembly for immediate use. 

When you are in the wild, one thing is for sure; you have limited time and resources. When it comes to fashioning a bow, you are lucky because nature is on your side. The primary resource which is wood is most likely in abundance.

Below are some quick and easy tips for creating a Survival bow which you can use for hunting game and self-defense if the need arises.

Choosing the right wood

Choosing the right Wood Survival Bow
Choosing the right Wood 

(Via: survivalmastery.com)

The first step is picking out the right kind of wood. This is like the backbone of your bow. So that you know not any wood can be used to make a bow. You want to go for hardwood. This includes the likes of ash, yew, black locust, oak, hickory, beech, and maple. It is possible that you may not know the identity of your trees and if that is the case, here is how you can test if the wood is good enough for a bow.

Take a twig the size of your pinky finger and bend it slightly. Allow it to snap back. Observe whether it responds quickly or sluggishly. Next, bend it into a c-shape, does it stay intact? Lastly, break the twig. If it breaks easily into two, it is a wrong candidate. If it refuses to break, but it kinks and forms a fibrous fracture, you’ve got yourself a match.

Shaping the Bow

Shaping the bow Survival Bow
Shaping the bow 

(Via: bushcraftdays.com)

Now that you’ve got the right wood, you will need an excellent piece of it to make the best bow. A good bow stave should meet the following criteria;

· A length of 5-6 feet

· A thickness of 1.5-2 inches

· Minimal to no twists or knots

· Have a steady taper from one end to the other

· No cracks

The next thing to having the perfect stave is to find its back, belly, and handle. Here is how you do it;

· Set the bow upright on the ground with one hand holding the top

· Push on the center lightly and allow the stave to rotate revealing the part that is slightly curved

· The inside part of the curve is the belly

· The outside part of the curve is the back


arrow Survival Bow
arrow

Now to find the handhold, determine the center of the branch and mark out three inches from either side of the center. The gap in between is your handle. Next, you need to ensure that your stave achieves a perfect bend. To do this, first, you need to curve the stave to see how the limbs bend. Some areas of the limb bend more easily than others.

Now, whittle away wood from the belly until both limbs are bending equally. The result should assume the shape of a parabolic curve. However, it is prudent to take your time when doing so because too much of it will spoil the branch and you may have to start from scratch. Also, do not remove anything from the back because it can easily break as it endures a lot of tension. 

The next bit is modifying the limbs so that the strings sit easily without sliding off the tips. Cut two knocks on either side of each limb to form a 45-degree angle facing the handle just deep enough for the string to rest and make sure not to touch the back.


Adding the Bow Cord

Adding The Cord Survival Bow
Adding The Cord

Some materials you can use for bowstring include; 

· Rawhide

· Twine

· Sinew

· Nylon rope

· Milkweed

· Nettle

· Dogbane

· Yucca

Point to note is that you can use any synthetic cord of a small diameter, the stiffer, the better. Elasticity messes up with the bows snap power. Now you can string your bow but just make sure that the cord is -6 inches from the bow’s handhold. One final process and you can begin using your bow.


Tillering your bow

Tillering Your Bow Survival Bow
Tillering Your Bow

(Via: popularmechanics.com)

This is one of the most crucial processes of shaping your bow. You need to find a piece of scrap wood or use a branch to hang your bow up horizontally by the handle. Pull the string down a few inches to see how the limbs bend. Both limbs should bend evenly throughout, and each bend should be a complete replica of the other. You have nothing to worry about if you did a good job shaping the bow.

At this stage, if you are equipped with some bow hunting tips, you are ready to hunt. Take caution to never fire the bow without an arrow as it can break the bow. If you are not in life and death situation and would probably like to do some finishing, you can sand the belly to make it smooth and also apply some light oil to prevent it from drying out fast.

Get yourself some arrows, shoot your bow frequently, oil it and tiller it when necessary. Now that is what a pro hunter does. 

If you are just at home and would like to take on this fun and creative learning process, you can do it out of materials that are probably available in your backyard within a very short time. Why not give it a try? You will carry on the skill forever, and it may come in handy one day when you need it.

Author Bio:

Kevin Steffey


Kevin Steffey is an avid hunter and freelance writer. He loves spending time in the field with his rifle more than almost anything else, and occupies his off-time discussing deer and their habits online. He is a founder at www.deerhuntingfield.com


Check Out My Ebook On Paleo Pumpkin  Recipes

Subscribe to the show

Want to hear yourself on the podcast? Call in with your questions at (615) 657-9104 and leave us a voice mail. 

Like this post? Consider signing up for my email list here > Subscribe

Think this post was worth 20 cents? Consider joining The Survivalpunk Army and get access to exclusive

 content and discounts!

join the Survival Punk Army

join the Survival Punk Army 

How To Layer Up Like A Pro

How To Layer Up Like A Pro With Wool Infographic

How To Layer Up Like A Pro

How To Layer Up Like A Pro With Wool Infographic

Want to Learn how to layer up like a pro this winter? I found this infographic created by  Column Five Media in tandem with Icebreaker

Since the infographic was created by a wool company it is biased. I am a big fan of wool, though, especially when you can get wool on the cheap. 

Base Layer

When layering clothes you begin with the base layer. This is the layer that comes in contact with your skin. 

You want to treat this like a second layer of skin. The goal is to retain body heat without getting sweaty. You want a material that will move perspiration away from the skin. 

As an example cotton as a base layer would be terrible in the winter. Cotton will absorb the moisture and keep it on the skin. This will suck the heat from your body. 

A light merino wool shirt or leggings will do much better than cotton as a base layer. 

I prefer a synthetic base layer myself. It is usually cheaper and easier to find an under armor type base layer than merino wool. 

You can find other types of wool easily at thrift stores. Merino wool can be found on occasion too. If you try to use another type of wool as a base layer you will regret it. You will not be able to stop itching. 

Mid Layer

The mid layer is where I like to use heavy wool. I want the mid layer to provide most of my warmth. 

This layer is meant to retain heat. It does this by  trapping  body heat close to the body. Think of it as your insulation layer. 

Natural fibers, such as merino wool and goose down work great as a mid layer. 

Outer Layer

The outer layer is there to protect you from the elements. This layer will offer rain and wind protection. 

Not all outer layers will be rain proof. You will usually get a balance of rain resistance, wind resistance, and breathability. 

In addition to the infographic below check out this introduction to Layered Clothing Systems


Read More

Holiday Gift Ideas For Survivalist And Preppers 2016

Holiday Gift Ideas For Survivalist And Preppers 2016

Holiday Gift Ideas For Survivalist And Preppers 2016

Holiday Gift Ideas For Survivalist And Preppers

Now time for something completely different. This year’s Holiday Gift Ideas For Survivalist And Preppers 2016 post is a bit different. In the past, I have tried to post a few neat items on the Christmas Gift posts. Last year I went looking for Small business and Kickstarters. 

Last year I went looking for Small business and Kickstarters. I would rather give business to a small startup over a mega company in most cases. Quality still counts.

This year  I’m aiming to make the definitive guide to Holiday Gift Ideas For Survivalist And Preppers 2016. I will  have options for cheaper gifts as well as more expensive ones. 

The list will be organized by category. Firestarters and tinder, for example, will go in the Fire category. In the categories, I will make the items go from cheapest to most expensive . 

Lastly, This post will not be static. I will update it as time goes on. Up until Christmas. If you see a great deal drop it in the comments. 

Disclaimer: Some of the links here are affiliate links. That means I get a commission if you buy. It does not charge you more. It helps support the blog. 


Read More

Back to Basics: Survival Skills Our Grandpas Taught Us

Back to Basics: Survival Skills Our Grandpas Taught Us

Back to Basics: Survival Skills Our Grandpas Taught Us

Back to Basics: Survival Skills Our Grandpas Taught Us

Learn what Survival Skills Our Grandpas Taught Us today in this guest post.

Everyone remembers that time when they spent their summers with their Grandfather. He taught you many chores, which you didn’t know would still be useful to this day.

The timeless skills of being self-reliant and living a simple life still apply today. 


We were taught basic, but useful survival skills. Let’s look back to the survival skills and other things your Grandpa had that still work around the homestead. 


Read More

Preps For The Election 2016

3 Preps For The Election 2016 You Need To Get Done

Preps For The Election 2016

Preps For The Election 2016 

Today a new president is elected. I’m really pulling for my candidate. Nobody. Since that isn’t going to happen there are some preps for the election that need to be shored up. 

Regardless of the outcome, some items are going to get more expensive. Or harder to find. As preppers, we should be prepping for this. Most of us have already got preps for the election. I like to prep right up to the last minute. 

Today I’ll talk about a few items and strategies for Election 2016. I honestly don’t think much will happen. Each president of my lifetime has left the country worse and closer to the collapse. And the fear mongers are saying this is end times. They said the same about Obama and Fukushima and every other thing. 

My point is that a collapse will occur. One day. No, I don’t think it will be overnight. Rome took between 100 to 300 years to fall. After an American collapse scholars in the Future will argue over how long it took the US to fall. 

Read More